Skip to product information


Sale price
£14.00
Regular price
£16.99
Taxes included. Shipping calculated at checkout
EU Customers: Country import taxes may be charged
Now available in German: Kompost, Alles, was man wissen muss
I want you to be creative, and avoid unnecessary work and complications. This book looks behind the many myths and misconceptions about composting. I empower you with sound understandings of how the process works. I explain quick and easy ways to produce a high quality product that’s easy to use, isn’t full of weed seeds, and brings wonderful benefits to soil and plants alike.
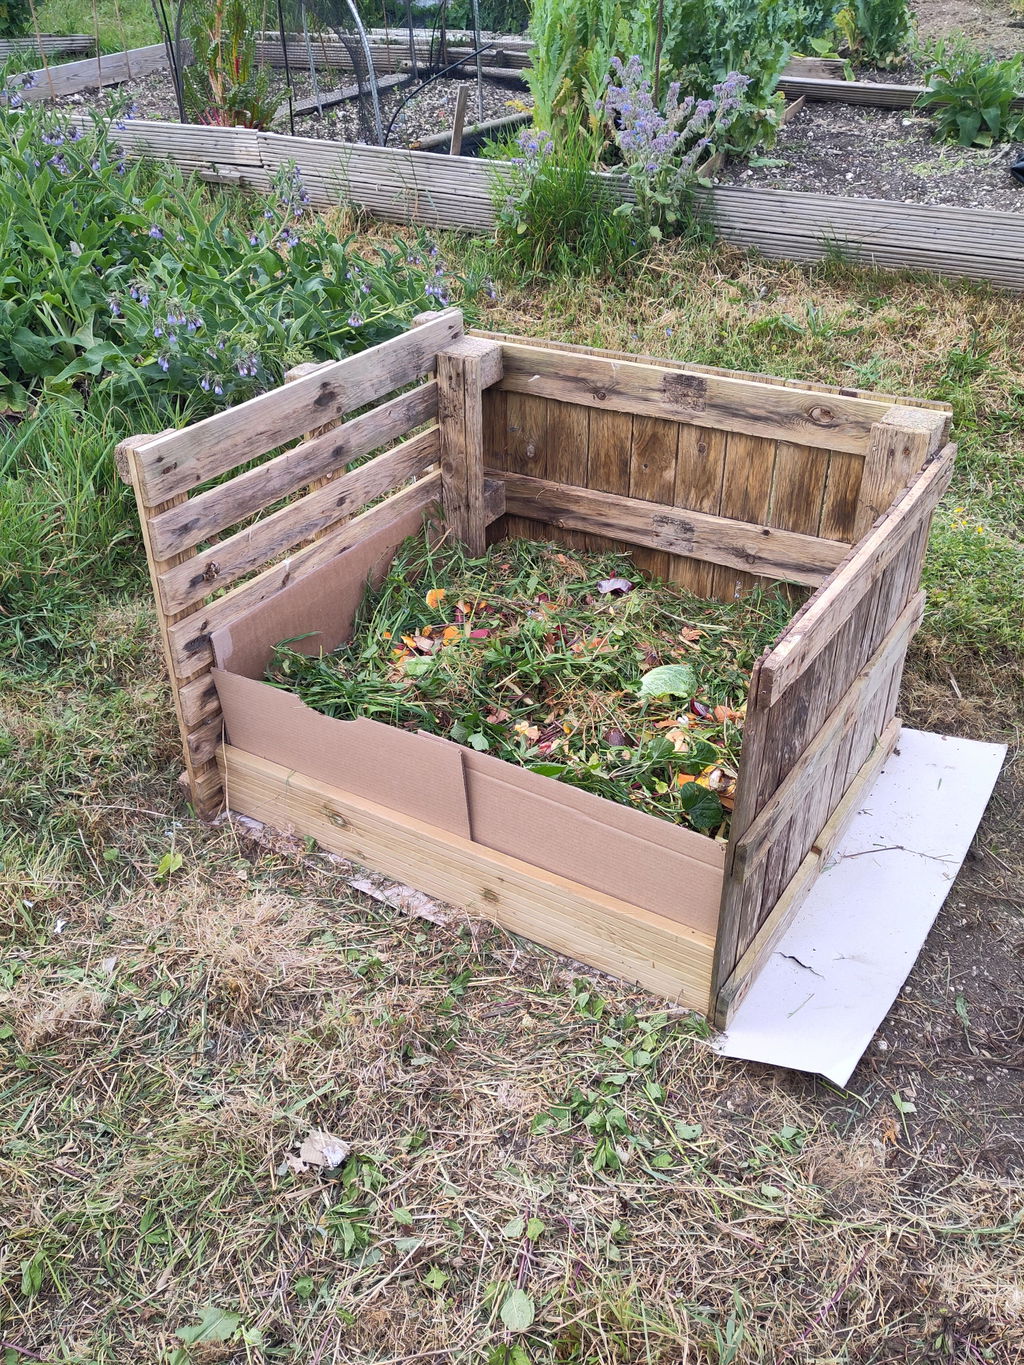
Related to this, I explain my no dig gardening methods, where unsieved compost is simply spread once a year on the surface of undisturbed soil. A 2.5cm (1in) cover of compost enables fine growth through the year, while making it easy to control weeds. My results at Homeacres have inspired adoption of no dig by The Royal Horticultural Society and Kew Gardens, among others.
Compost is being rediscovered. I love how gardeners grow excited when they see that simple additions of homemade compost can quickly increase the quality and quantity of growth in all types of plants. I want this book to spark your interest in composting and bring you success. So you can improve the health of soils, plants, yourself and the wider environment.
It’s a book of relatively few words and beautiful woodcuts by Jonathan Gibbs. Diagrams and tables help me explain the fundamentals of how to make decent, healthy compost. Often not perfect looking, and that is fine!
Where to buy internationally
Saxo – Denmark (ships worldwide)
The Farm Dream – Netherlands (ships within Europe)
---
FEATURED IN THE MEDIA!
RHS Top Ten Gardening Books for Christmas 2024
---
December 2024 edition of House & Garden magazine, by Ross Pearson:
"Impressively combining scientific research with easy-to-follow, step-by-step advice on how to make your own compost, Charles has produced the go-to textbook for gardeners of all levels of ability... This is a must-have for all gardeners."
---
November 2024 edition of English Garden Magazine
Shown here with kind permission of the publisher