
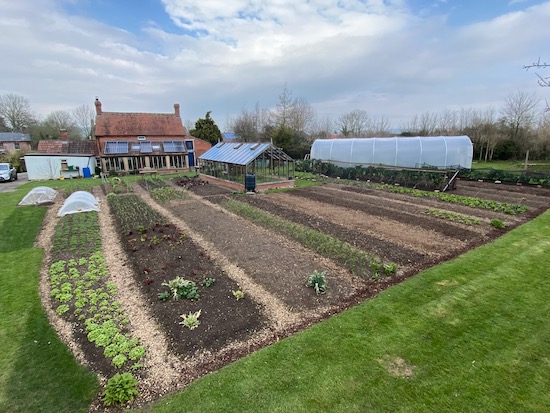
The second half of March sees much more sowing, planting, raking and weeding outside, than at any time since late summer. I’m sorry though that you may be reading this with snow on the ground in some climates, and you need fantastic patience! See my video tour of Homeacres in early spring for a feel of the season here.
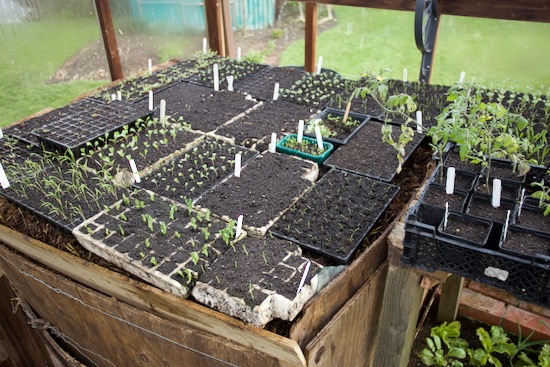
I make most sowings undercover because it’s more reliable so there is less wastage of seed, and growth is more rapid. Also for brassicas there is less damage from flea beetles, which are quite a pest on young brassica leaves in the spring. Or cover sowings with fine mesh covers. More details are on my Timeline for sowing, which includes downloads for the southern hemisphere and for northern Scotland.
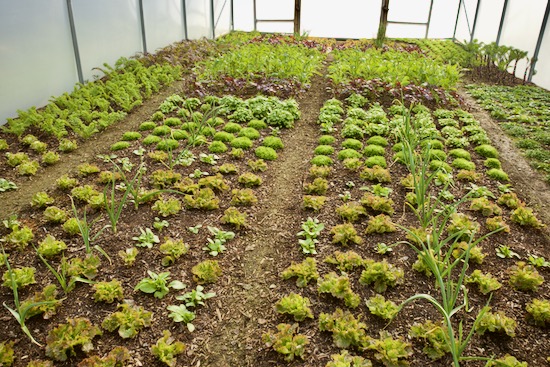
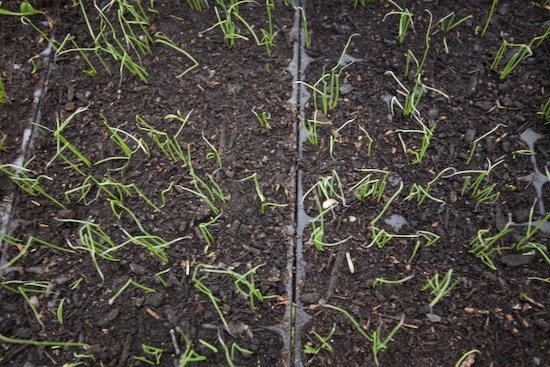
For those of us in temperate climates, the outdoor sowings we can make from mod March are carrots, parsnips, onions, spring onions, radish, lettuce, spinach, onion sets, peas, broad beans, coriander, dill and parsley.
Wait until April before sowing leeks and chard, to reduce the risk of bolting in summer. Keep up to date with my Calendar which is also in digital, and we sell a Wallchart of monthly sowings.
No Dig
Here is a recap of no dig as I practice it in the UK, and recommend for most climates.
1 Practice no soil disturbance: no digging, no forking. Soil does not need us to loosen it, thanks to soil life maintaining its structure and aeration.
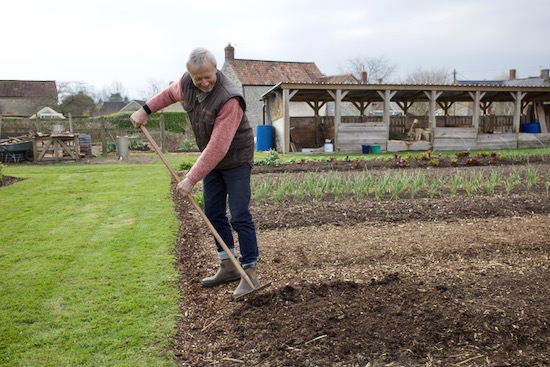
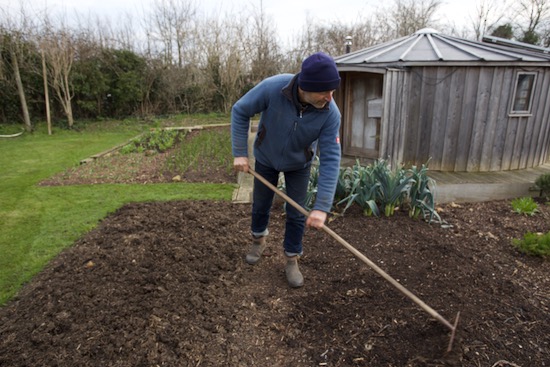
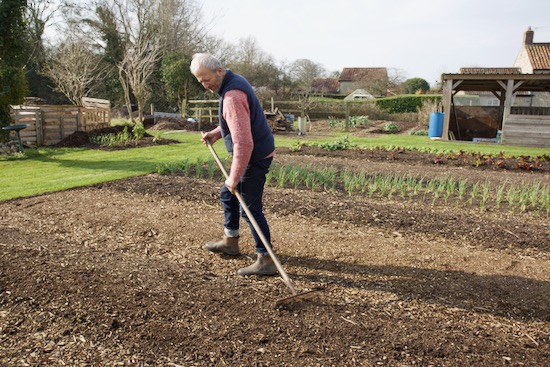
2 Sometimes we need to hoe or rake the surface, for levelling and weed control. Sometimes we use a trowel to make holes for planting, or a spade for planting trees, or to remove stems of woody weeds.
3 Feed soil life with organic matter on the surface. For vegetables, compost is the mulch (surface material) of choice.
4 Control weeds by easy and regular pulling, or light hoeing if a lot are appearing. Any use of cardboard is only when starting out on weedy areas.
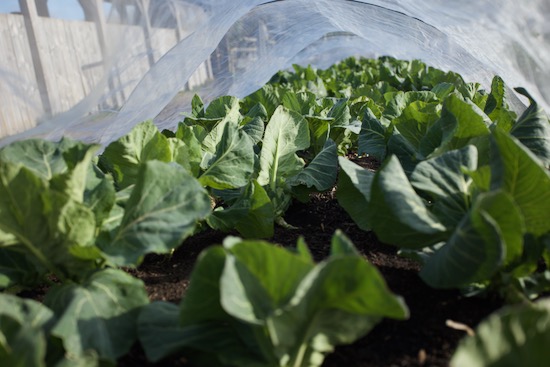
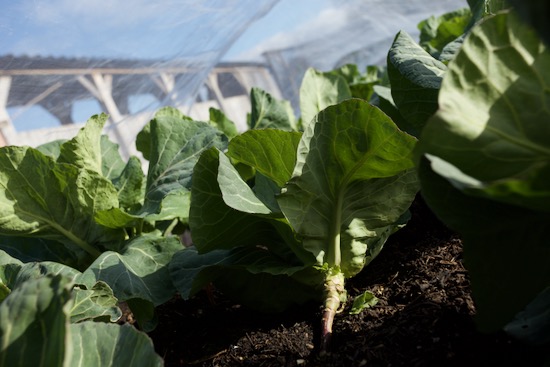
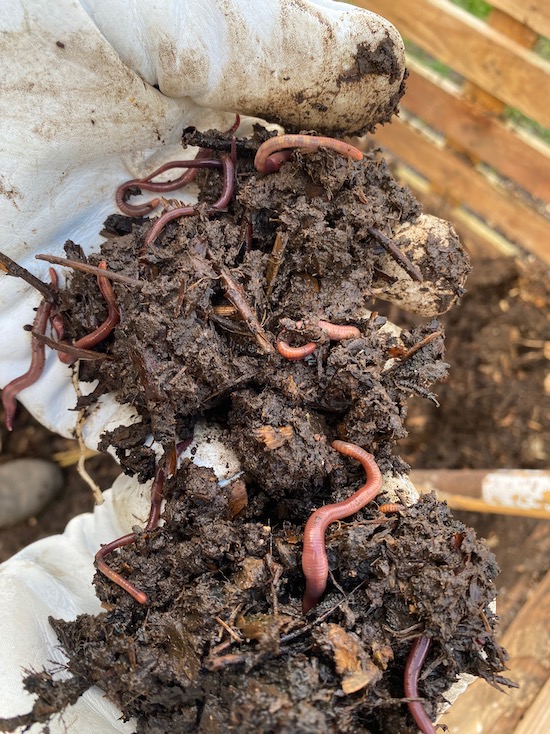
5 Control slugs through minimum habitat, including tidy plants such as cabbage below: also no dig means good soil ecology, such as ground beetles eating slugs and their eggs
You can learn in depth about no dig in my online course and book, also here on the website in this Beginners Guide for more on setting up the space, smothering weeds etc.


Q “Couch grass still there 6 years later”
From the questions I receive, the key papparently missed are:
1 Mulch pathways as well as beds, in particular if you have no wooden sides (recommended!).
2 Keep removing any new blades of couch grass, sometimes using a trowel to lever out the new, white root. You will not however extricate the main root, which is deeper down
You can use cardboard initially, on thick path weeds. When starting out with a weedy plot, paths need to be mulched/cleaned in the same way as beds, so that the grass cannot spread back into beds.
I always succeed in eliminating couch grass within one year. But that first year must be thorough and year one requires more time to keep removing regrowth, including from paths and edges too.
Videos, and Cameo
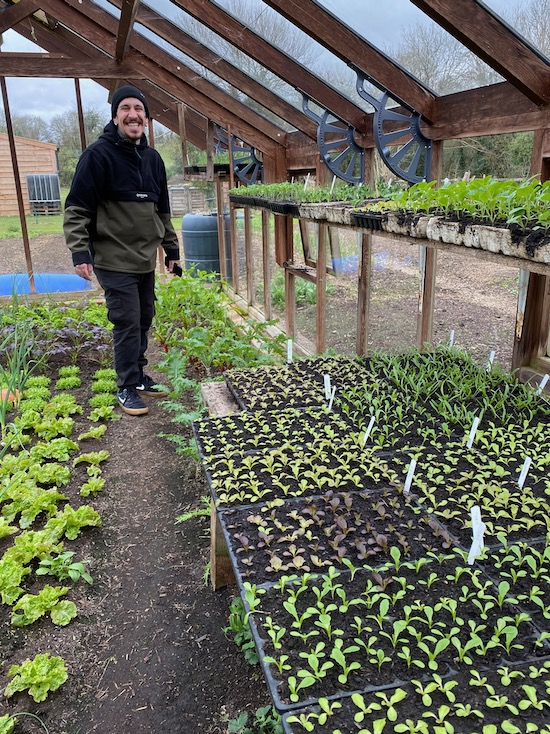
For more about types of compost, see How to Start a No Dig Bed and Compost Differences. I love working with Alessandro Vitale, who is my main videographer now, he is also known as Spicy Moustache. He’s so enthusiastic about no dig, growing vegetables, and is keen to learn all the time. His own work of video production is enjoying a huge success on Instagram, and soon I feel on You Tube. His main effort just now is on reels, and we collaborate on a few such as swede rolls!
Today 10th March we filmed a lot for a video about cover cropping/green manures which have grown through winter on my trial beds. We harvested all of them today and it was fascinating to weigh the results, all will be revealed in the video releasing around the end of March.
Module trays- NEW!!
They have been a long time in the pipeline and finally, we can sell the new smaller trays which are CD 60 offspring. Same design but smaller. The 30 is half size and the 15 is quarter size, see Containerwise website.
I’m sorry it’s taken so long and I thought they would be released in January, but I am not the production expert and a few delays along the way were enough to push things back. Plus Containerwise wanted to be sure that they have sufficient stock so that anyone ordering will receive trays in reasonable time. To buy in the US see this site, and see my Links page for other resellers.


Compost for propagation
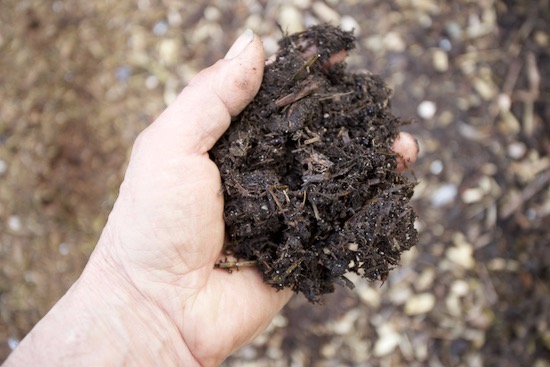
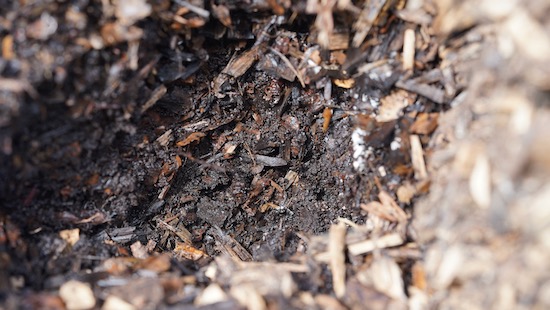
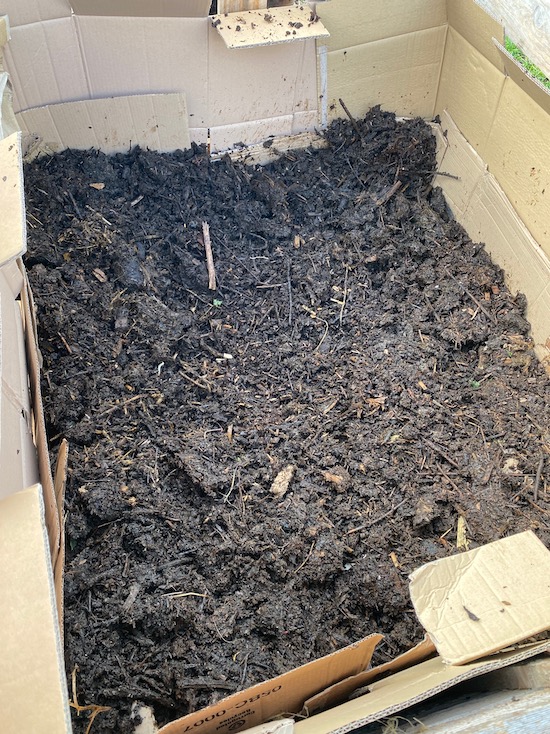
If you are buying such compost, I hope you have found one that is giving reasonable results. I’ve not heard of so many problems this year as I did last year so that’s encouraging. I’ve put a photo below to give an idea of what can happen with poor compost.
The poor one is not designed for propagation and this was more of a check on nutrient status, for a friend. There is a lot of wood still present in there, grabbing nutrients, and the main ingredient is one year old food waste. It has been through a Nidal digester cylinder, and it’s smelly – suggesting anaerobic.

Bargain Bundle
I am joining an Off-Grid Sustainable Living Bundle which gives immediate and full access to 40 digital courses, trainings and books, of $2000 approx. value, purchasable for $50. The link goes live on 18th March.
Topics include:
● Organic farming and gardening
● Nomadic living and thriving off-grid
● Online income & crypto
● Legal freedom
● Tiny homes and minimalism
● Sustainable living
● Natural healing
● Prepping & emergency survival
How does it work? On 18th March, I released the link to the Off-Grid Sustainable Living website where you can purchase the bundle. The offer lasts for 9 days. You can download it all and then study in your own time.
My part of the 40 is the Skills online course, No Dig Course Book, and Calendar.
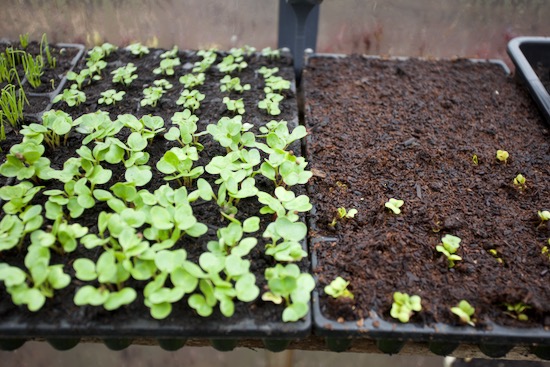
Germination mysteries
So why did those seeds not come up? Even after four decades this happens more than I feel it should, sometimes a mystery, but it is more common at this time of year when conditions are cool. Here are possible reasons why some of our seedlings have not made it:
1 Lack of warmth over a 24 hour period; even if days are warm, cool nights prevent germination, particularly of warmth loving plants.
2 The seed was old when purchased, not that you could know because the seed packet tells you only the date it went in the packet!! You may have recently bought two year old seed, believing it to be fresh from last year.
3 The compost was too wet and ant tiny new roots have rotted. This is a reason for adding perlite, vermiculite or sand to compost when sowing very small seeds.
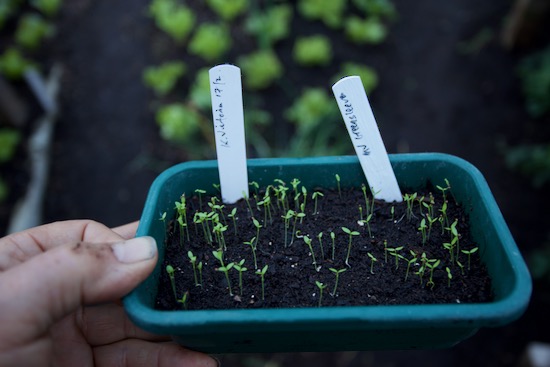
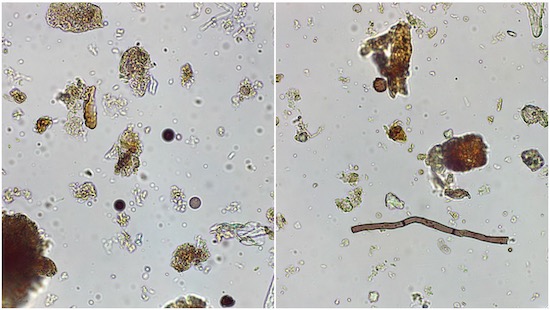
4 The issue is not a ‘surplus of nutrients’ as is sometimes claimed. Seeds germinate and seedlings grow in high nutrient compost. See photo below where the worst seedling growth is in nutrient-poor compost.
Leggy Seedlings
Tall seedlings are not a natural occurrence and are best prevented, because long stems are mostly thin and fragile, making seedlings weak. The main way to avoid long stems is by growing seedlings in full light.
Depending where you have most warmth, you may be germinating seeds for 4-7 days in darkness. After this top priority warmth during the first week or so, full light becomes top priority.
If you don’t have an outdoor space which gives full light, it may be worth investing in grow lights to use in your house.
You can reduce legginess by pricking out and transplanting leggy seedlings with a fair amount of stem below ground. This gives stability to the leaves above, especially when they are wet and heavy. To avoid it happening next year or later on, make sure you have the facilities for giving full light to seedlings, and if not then I recommend to sow a little later. See below for more about the hotbed.
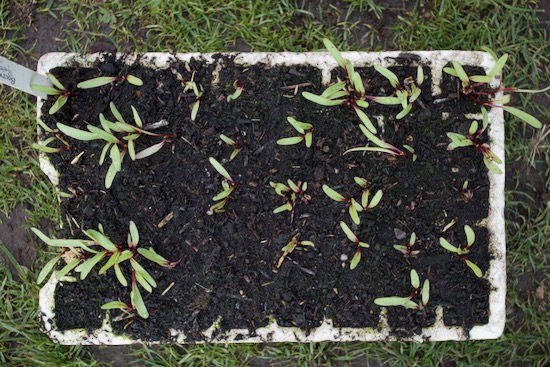
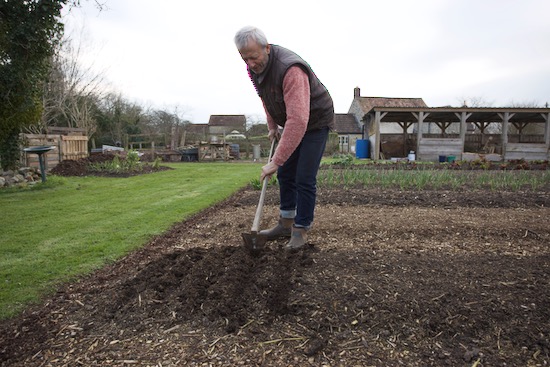
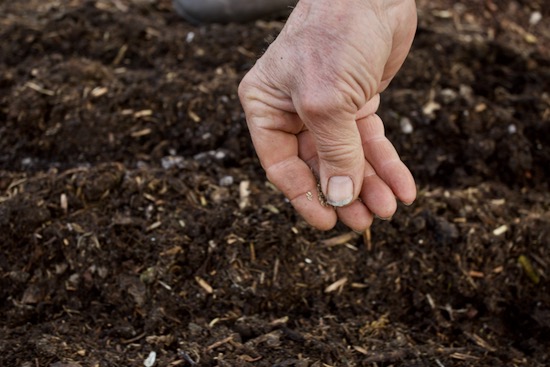
Sowing direct
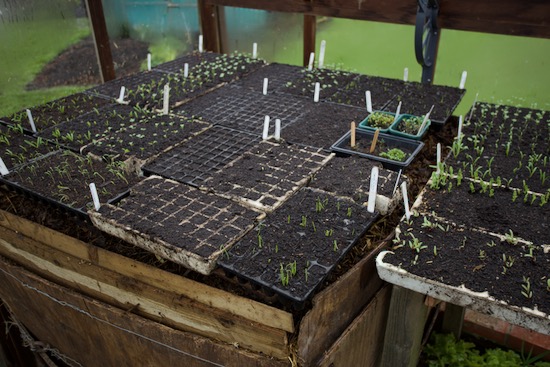
This of course is the ultimate way to avoid leggy seedlings, because they have full light outside. We took the photos below to give you an idea of how I make drills in the surface compost. In this case it was a demo only, using old carrot seeds! I shall sow carrots after the equinox.
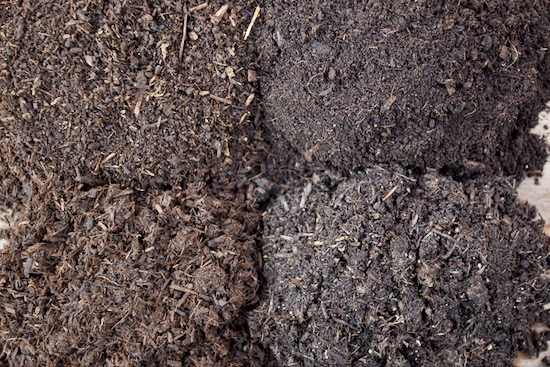
Compost Confusion
WHICH ONE?
I had this question on FB and I receive so many like it:
“So this year I have only put well rotted manure on the legume bed because I’ve been told that roots and brassicas aren’t a fan of it, is this true?”
So many people are misled, by those who don’t know and make nonsense statements like this. All of my long experience shows this to be untrue – gah, it’s misinformation!!
Well rotted manure is compost. Compost is good for all soil organisms and its them who enable growth and maintain soil structure and health.
- So it’s simple, use any decomposed matter to feed your soil life, whether you are growing cabbage, beans or potatoes. See below as well.
HOT?
On the same thread, someone else put this comment:
“Horse and cow manure is called hot, but rabbit and chicken is called cold”
Written as though it’s an accepted fact – but it’s wrong! Again anyone reading it will be confused and misinformed!!
Hot can mean literally hot, and also that the process of decomposition absorbs nutrition from the soil and away from plants, which is called “burning the roots”. Fresh manure may also release some free nitrogen, depending on the bedding. Bedding is an elephant in the room because it’s rarely mentioned, and some people assume that manure is simply the faeces.
- There are so many variations but generally it’s safest to use compost and animal manures after they are minimum six months old. Preferably you spread compost after heat has subsided
See my compost explanations and examples in the Start No Dig video.
The photos show variations in bed surface from using different composts, and how to deal with that.
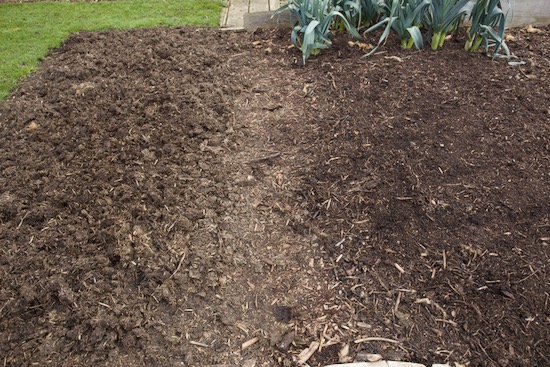
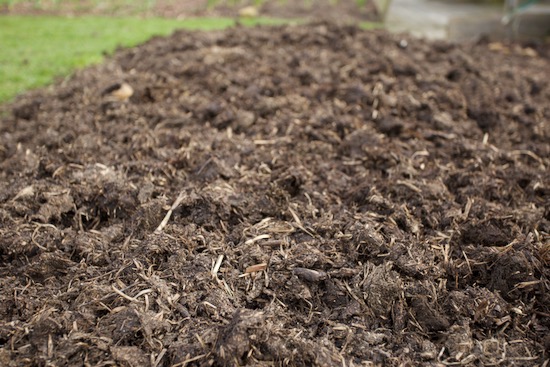
Sticky manure
If you can spread it 4-8 weeks before you need to plant, life is easier. The sticky lumps fall apart as air enters, and eventually the surface is soft, fibrous and moisture retentive. Without large lumps in the way of planting, or offering habitat for slugs.
The best time to spread older but sticky manure is before Christmas. Frost during winter helps to open the lumps through freeze and thaw.
In the two beds below, I shall grow potatoes where the cover is cow manure. It’s too lumpy to sow carrots for example.


Hotbed, maintaining heat
The hotbed is a compost heap, evolving all the time. For best results it can be filled and maintained in various ways, although there are so many variables that it’s barely possible to have precise amounts of heat over long periods.
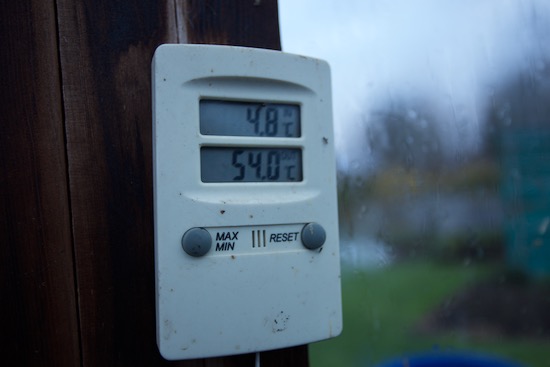
My problem previously has been excessive heat in the first week, and ammonia gases from the rapid decomposition, and a fast drop in level.
This year I tried stamping more on the manure to squash more in, and applying extra water to slow it down a little. This worked too well, even by making it a little anaerobic, despite the straw bedding. Heat never exceeded 46C (rather than the 60C of previous years) and within two weeks was 34C and falling.
That’s a little cool for the way I use it which is to speed germination and early growth, during no more than two weeks or so for any batch of seedlings as we make new sowings: after two weeks of full warmth, trays go onto a pallet/bench in the greenhouse. Then by April there will be warmth loving plants such as aubergines, which stay on the hotbed for longer. It’s a key part of my propagation process for all early plant raising.
After the stop in heat, we did two things to increase it on 1st March, twelve days after creating the heap. I scooped off the top 15cm/6in of manure and put it in a wheelbarrow, then used a crowbar and fence-post to make a hole in the middle. Into that I banged in a drain pipe which stayed in place while I was applying fresh manure, which Adam had fetched from the nearby stables. Two barrows of very fresh horse manure with straw bedding, spread on top with a little water to wet any dry straw.
Onto that fresh manure, I forked from the other wheelbarrow from the previous top layer, and spread it back on top. This serves as a wet blanket to slow release of ammonia and prevent singeing of vegetable leaves above the heat. I also make sure there is some ventilation all the time in the greenhouse, to dilute ammonia in the air.
With the heap full and now 30cm/12in higher, I levelled it, then pulled out the drain pipe and replaced the pallet and all the trays. I was delighted to see the heat rise steadily. On successive days it was 26 then 36 then 44 then 54 constant for a few days. Tiny seedlings grew faster.
*My temperature measure is a probe sitting under the pallets, 15 cm below the surface of the horse manure, very close to the top. The temperature in module root balls will be closer to 25 or 30 C.

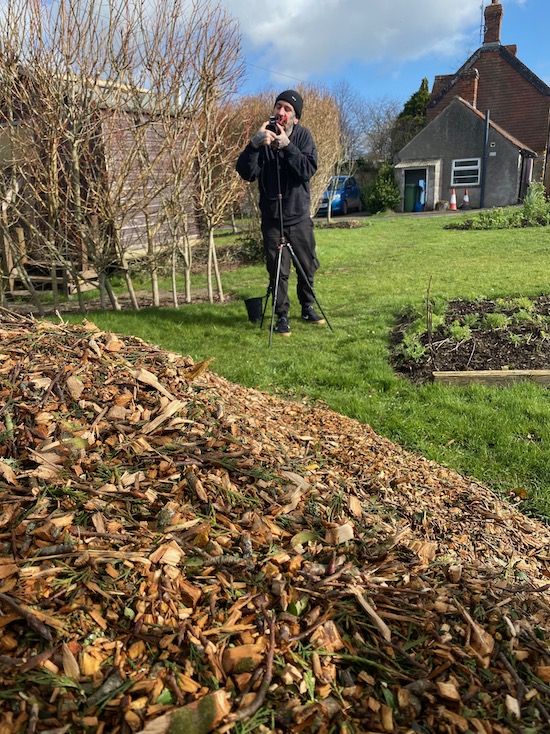
Woodchip
This material was scarcely available when I started gardening, and now it’s becoming quite a mainstay. We made a video about the many ways to use it and store it, even improve it.
What do we burn it a little is to make biochar/charcoal, and the photo shows how much comes from one burn, which has a very clean flame. We plan to release a video on how that works at the end of March. Before that I shall publish a video about woodchip itself. All the amazing things you can do with it, and ways to compost and use it.

Making compost
There are many ways to make compost. We add everything including roots of perennial weeds, and diseased materials.
1 Here I do mainly hot composting, by adding sufficient material to have a hot heap with faster breakdown, and no weed seeds. In winter the heaps are cool, from lack of new green material.
2 One turn after 3-4 months sees compost ready from 5 months in summer, longer in winter.
Warm composting in the pallet heaps. Temperatures rarely above 45C and this favours worms, with excellent compost within 6 months, and one turn after after 3-4 months.
3 Worm composting – I bought 4kg and we shall see!

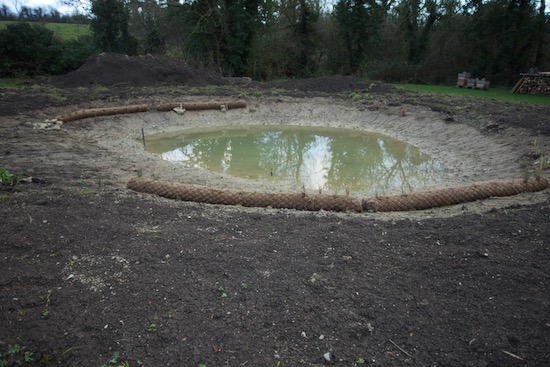
The pond
The water level has been going up and down!
Up after it rains, thanks to the pipe which Jack installed from the ditch he dug out, 21m away and slightly higher in ground level. Then down as well. The loss of water must be from a leak in the clay, because this pond has no liner.
In early February the level was so low that Adam could get in there and he spent a few hours walking on the clay and squishing it up the sides, hoping to squash it enough to seal any gaps. However it still leaks!
So I bought some bentonite clay which is super fine, as suggested on You Tube comments, thankyou. Adam mixed it with a little water then threw it into the pond, left and right and middle.
After 8mm rain, the level declined less! But now it’s very dry again, and the level is going low.


0 comments